Switching Netdata Install Types and Release Channels on Windows
You can switch between different Netdata release channels on Windows based on your needs. This guide covers the process with step-by-step instructions.
Understanding Windows Installation Architecture
Unlike Linux systems where Netdata has multiple install types (native packages, static builds, Docker, etc.), Windows only has one install type: the MSI installer.
This simplifies the switching process significantly:
- No need to determine your "install type" (it's always MSI)
- No complex switching procedures between different installation methods
- MSI handles upgrades automatically
Release Channels Available
| Channel | Download URL | Update Frequency | Recommended For |
|---|---|---|---|
| Stable | https://github.com/netdata/netdata/releases/latest/download/netdata-x64.msi | Major and patch releases | Production systems, most users |
| Nightly | https://github.com/netdata/netdata-nightlies/releases/latest/download/netdata-x64.msi | Daily builds | Testing, early adopters, bleeding-edge features |
When to Choose Each Channel
Choose Stable Channel If:
- You're running production systems
- You need predictable, well-tested releases
- You prefer less frequent updates (major releases only)
- You want maximum stability over cutting-edge features
- You have strict change management processes
Choose Nightly Channel If:
- You're testing new features before production deployment
- You want immediate bug fixes without waiting for releases
- You're contributing to Netdata development and need latest code
- You want to provide early feedback to the Netdata team
Update Frequency: Stable releases occur every few weeks to months, while Nightly builds are updated daily with every commit to the master branch.
Data Preservation When Switching Channels
When switching between release channels on Windows, the MSI installer automatically preserves your important data and configuration.
Preserved during channel switches:
- Configuration files (
netdata.conf, collector configs) inC:\Program Files\Netdata\etc\netdata - Historical metrics data
- Alert configurations
- Cloud connection settings (claim token, room assignments)
Not preserved (by design):
- Temporary cache files
- Log files older than retention period
Unlike switching between install types on Linux, Windows channel switching does not require manual backup and restore procedures. The MSI installer handles data preservation automatically.
Switching Between Release Channels
Method 1: GUI Installation (Recommended)
Switch to Stable Channel
-
Download the Stable MSI:
- Go to:
https://github.com/netdata/netdata/releases/latest/download/netdata-x64.msi - Save the file to your Downloads folder
- Go to:
-
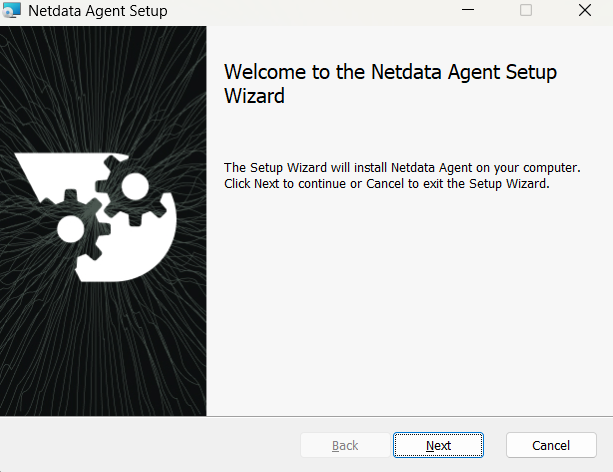
Run the installer:
- Double-click the downloaded
.msifile - Grant Administrator privileges when prompted
- Follow the installation wizard
- Double-click the downloaded
-
Verify the installation:
- The installer will automatically detect your existing installation
- Upgrade to the Stable channel
- Preserve your configuration and data
- Restart the Netdata service
Switch to Nightly Channel
-
Download the Nightly MSI:
- Go to:
https://github.com/netdata/netdata-nightlies/releases/latest/download/netdata-x64.msi - Save the file to your Downloads folder
- Go to:
-
Run the installer:
- Double-click the downloaded
.msifile - Grant Administrator privileges when prompted
- Follow the installation wizard
- Double-click the downloaded
-
Verify the installation:
- The installer will automatically detect your existing installation
- Upgrade to the Nightly channel
- Preserve your configuration and data
- Restart the Netdata service
Method 2: PowerShell Installation (Automated)
Silent installation isn't supported on Windows Server versions earlier than 2019 due to TLS compatibility issues. Use the GUI installer instead.
Switch to Stable Channel via PowerShell
# Run PowerShell as Administrator
$ProgressPreference = 'SilentlyContinue'
Invoke-WebRequest https://github.com/netdata/netdata/releases/latest/download/netdata-x64.msi -OutFile "$env:TEMP\netdata-x64.msi"
msiexec /qn /i "$env:TEMP\netdata-x64.msi" REINSTALL=ALL
Switch to Nightly Channel via PowerShell
# Run PowerShell as Administrator
$ProgressPreference = 'SilentlyContinue'
Invoke-WebRequest https://github.com/netdata/netdata-nightlies/releases/latest/download/netdata-x64.msi -OutFile "$env:TEMP\netdata-x64.msi"
msiexec /qn /i "$env:TEMP\netdata-x64.msi" REINSTALL=ALL
Method 3: PowerShell with Cloud Connection Preserved
Switch Channels with Explicit Cloud Settings
If you want to ensure your Netdata Cloud connection is maintained during the switch, you can provide your claim token and room IDs explicitly.
Get your current cloud settings:
# Check current cloud configuration
Get-Content "C:\Program Files\Netdata\etc\netdata\cloud.d\cloud.conf"
Look for your token and rooms values.
Switch to Stable with Cloud settings:
# Run PowerShell as Administrator
$TOKEN = "<YOUR_CLOUD_TOKEN>"      # <-- Replace with your Netdata Cloud claim token
$ROOMS = "<YOUR_ROOM_IDS>"         # <-- Replace with your comma-separated Room IDs
$ProgressPreference = 'SilentlyContinue'
Invoke-WebRequest https://github.com/netdata/netdata/releases/latest/download/netdata-x64.msi -OutFile "$env:TEMP\netdata-x64.msi"
msiexec /qn /i "$env:TEMP\netdata-x64.msi" TOKEN="$TOKEN" ROOMS="$ROOMS"
Understanding the REINSTALL=ALL Parameter
The REINSTALL=ALL parameter is a Windows Installer (MSI) standard option that forces reinstallation of all Netdata components, ensuring a clean upgrade path.
When to use REINSTALL=ALL:
- Switching channels (Stable ↔ Nightly) - Recommended
- Troubleshooting broken installation - Essential
- Upgrading within the same channel - Optional
When not to use REINSTALL = ALL:
- Fresh installations (no existing Netdata)
- When you want minimal disruption (standard MSI upgrade is sufficient)
The REINSTALL = ALL parameter ensures complete replacement of binaries but is not required for normal channel switches. The MSI installer handles upgrades automatically.
Verification: Confirm Your Channel
After switching channels, verify which version you're running:
Check via Netdata Dashboard
- Open your browser to
http: //localhost:19999 - Click the Netdata logo in the top-left corner
- Look for the version number:
- Stable:
v2.1.0(clean version number) - Nightly:
v2.1.0-123-nightly(includes commit hash)
Check via PowerShell
# Get installed Netdata version
Get-ItemProperty "HKLM:\Software\Microsoft\Windows\CurrentVersion\Uninstall\*" |
        Where-Object {
            $_.DisplayName -like "*Netdata*"
        } |
        Select-Object DisplayName, DisplayVersion, Publisher
Example output:
DisplayName    : Netdata
DisplayVersion : 2.1.0
Publisher      : Netdata Inc.
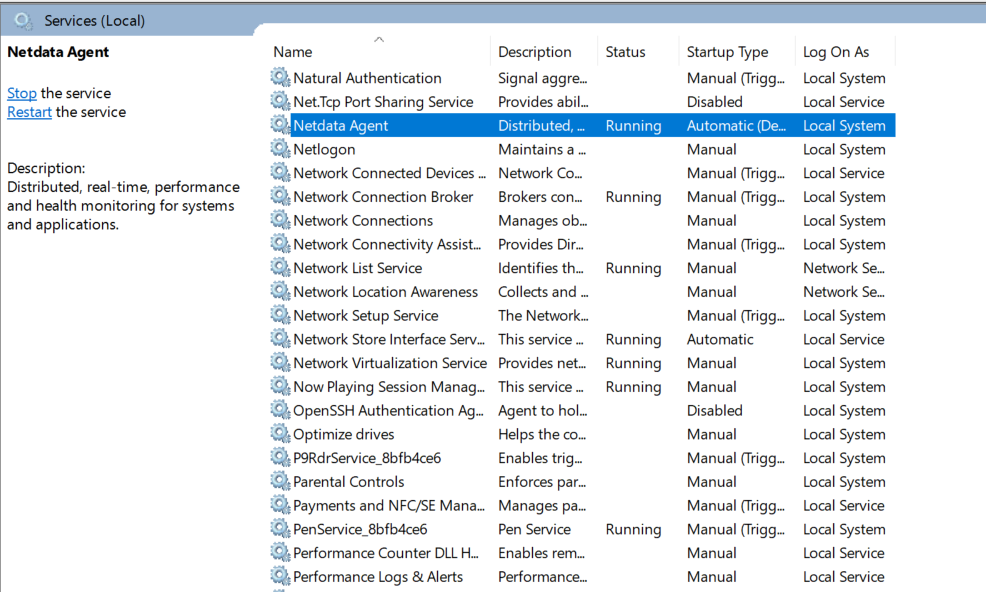
Check Netdata Service Status
You can also verify the Netdata service is running through the Windows Services manager:
Or check via PowerShell:
# Check Netdata service status
Get-Service netdata | Select-Object Name, Status, DisplayName

# Check service executable path
Get-WmiObject win32_service | Where-Object { $_.Name -eq 'netdata' } | Select-Object PathName
Troubleshooting Common Issues
Issue: "Another version is already installed"
Symptoms: MSI installer shows error about existing installation
Solution 1: Use the REINSTALL=ALL parameter explicitly:
msiexec /qn /i netdata-x64.msi REINSTALL=ALL
Solution 2: Uninstall first via Windows Add/Remove Programs, then reinstall:
Or uninstall via PowerShell:
# Uninstall existing installation
msiexec /qn /x netdata-x64.msi

# Wait for uninstall to complete
Start-Sleep -Seconds 10

# Reinstall with new channel
msiexec /qn /i netdata-x64.msi TOKEN="<YOUR_TOKEN>" ROOMS="<YOUR_ROOMS>"
Issue: Cloud Connection Lost After Switch
Symptoms: After switching channels, node doesn't appear in Netdata Cloud
Solution: Reclaim the node:
# Stop Netdata service
Stop-Service netdata

# Remove old cloud configuration
Remove-Item "C:\Program Files\Netdata\var\lib\netdata\cloud.d\*" -Force

# Reinstall with claim token
msiexec /qn /i netdata-x64.msi TOKEN="<YOUR_TOKEN>" ROOMS="<YOUR_ROOMS>" REINSTALL=ALL

# Start service
Start-Service netdata
You can also verify the service status in Windows Services:
Issue: Service Won't Start After Switch
Symptoms: Netdata service fails to start after channel switch
Solution: Check service status and perform clean reinstall:
# Check service status
Get-Service netdata

# Check Windows Event Log for errors
Get-EventLog -LogName Application -Source Netdata -Newest 20

# Perform clean reinstall
msiexec /qn /x netdata-x64.msi
Remove-Item "C:\Program Files\Netdata" -Recurse -Force -ErrorAction SilentlyContinue
Remove-Item "$env:PROGRAMDATA\Netdata" -Recurse -Force -ErrorAction SilentlyContinue
msiexec /qn /i netdata-x64.msi TOKEN="<YOUR_TOKEN>" ROOMS="<YOUR_ROOMS>"
If the service still won't start, check the Windows Services manager to ensure the Netdata service is present and configured correctly:
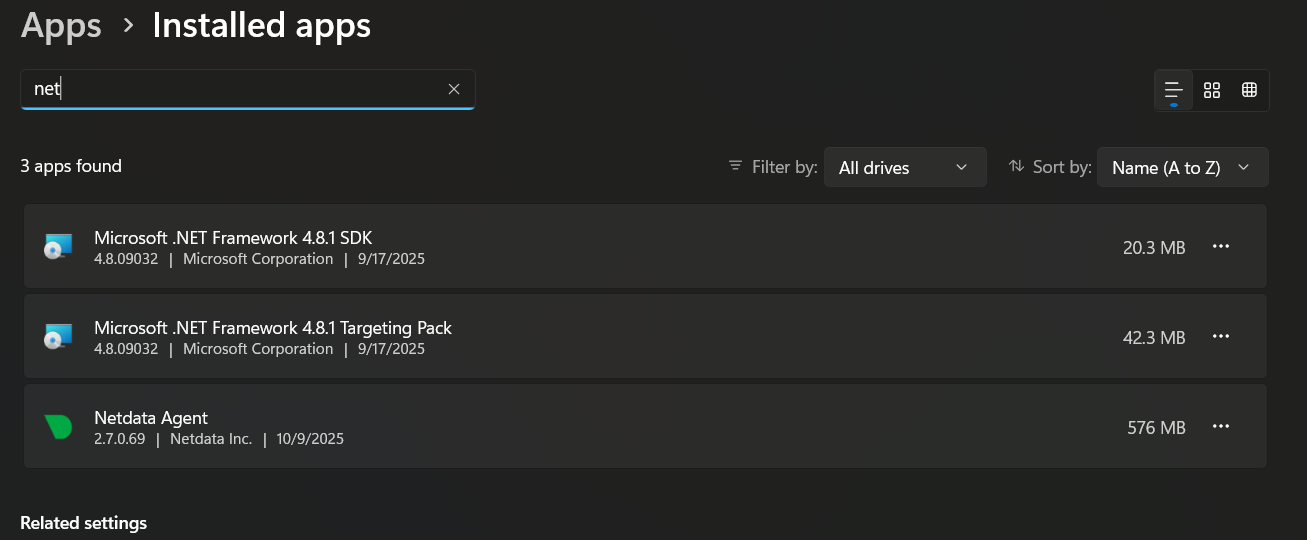
Alternative: Using Windows Add/Remove Programs
For users who prefer the traditional Windows approach, you can also manage Netdata installations through the Windows Control Panel:
-
Access Add/Remove Programs:
- Open Windows Settings → Apps & features
- Or search for "Add or remove programs" in the Start menu
-
Locate Netdata:
- Find "Netdata" in the installed programs list
- Note the current version number
-
Uninstall if needed:
- Click "Uninstall" to remove the current installation
- Then install the new channel using the MSI installer
This method provides a familiar Windows experience but requires manual download and installation of the new channel.
Do you have any feedback for this page? If so, you can open a new issue on our netdata/learn repository.